

Google Calendar Setup
Calendar V1: Configure Google Calendar OAuth for Recall to let users sync meetings and manage auto-recording preferences.
Creating Google OAuth 2.0 Client (Steps 1-3)
PrerequisitesIt's possible that you have already completed both of these prerequisites, especially if you have come from the Calendar V1 guide!
- You must have a Google Project created inside the Google API console
- Inside that Google Project, you must enable the Google Calendar API in the project
Once both of these are completed, you can proceed with the rest of this guide
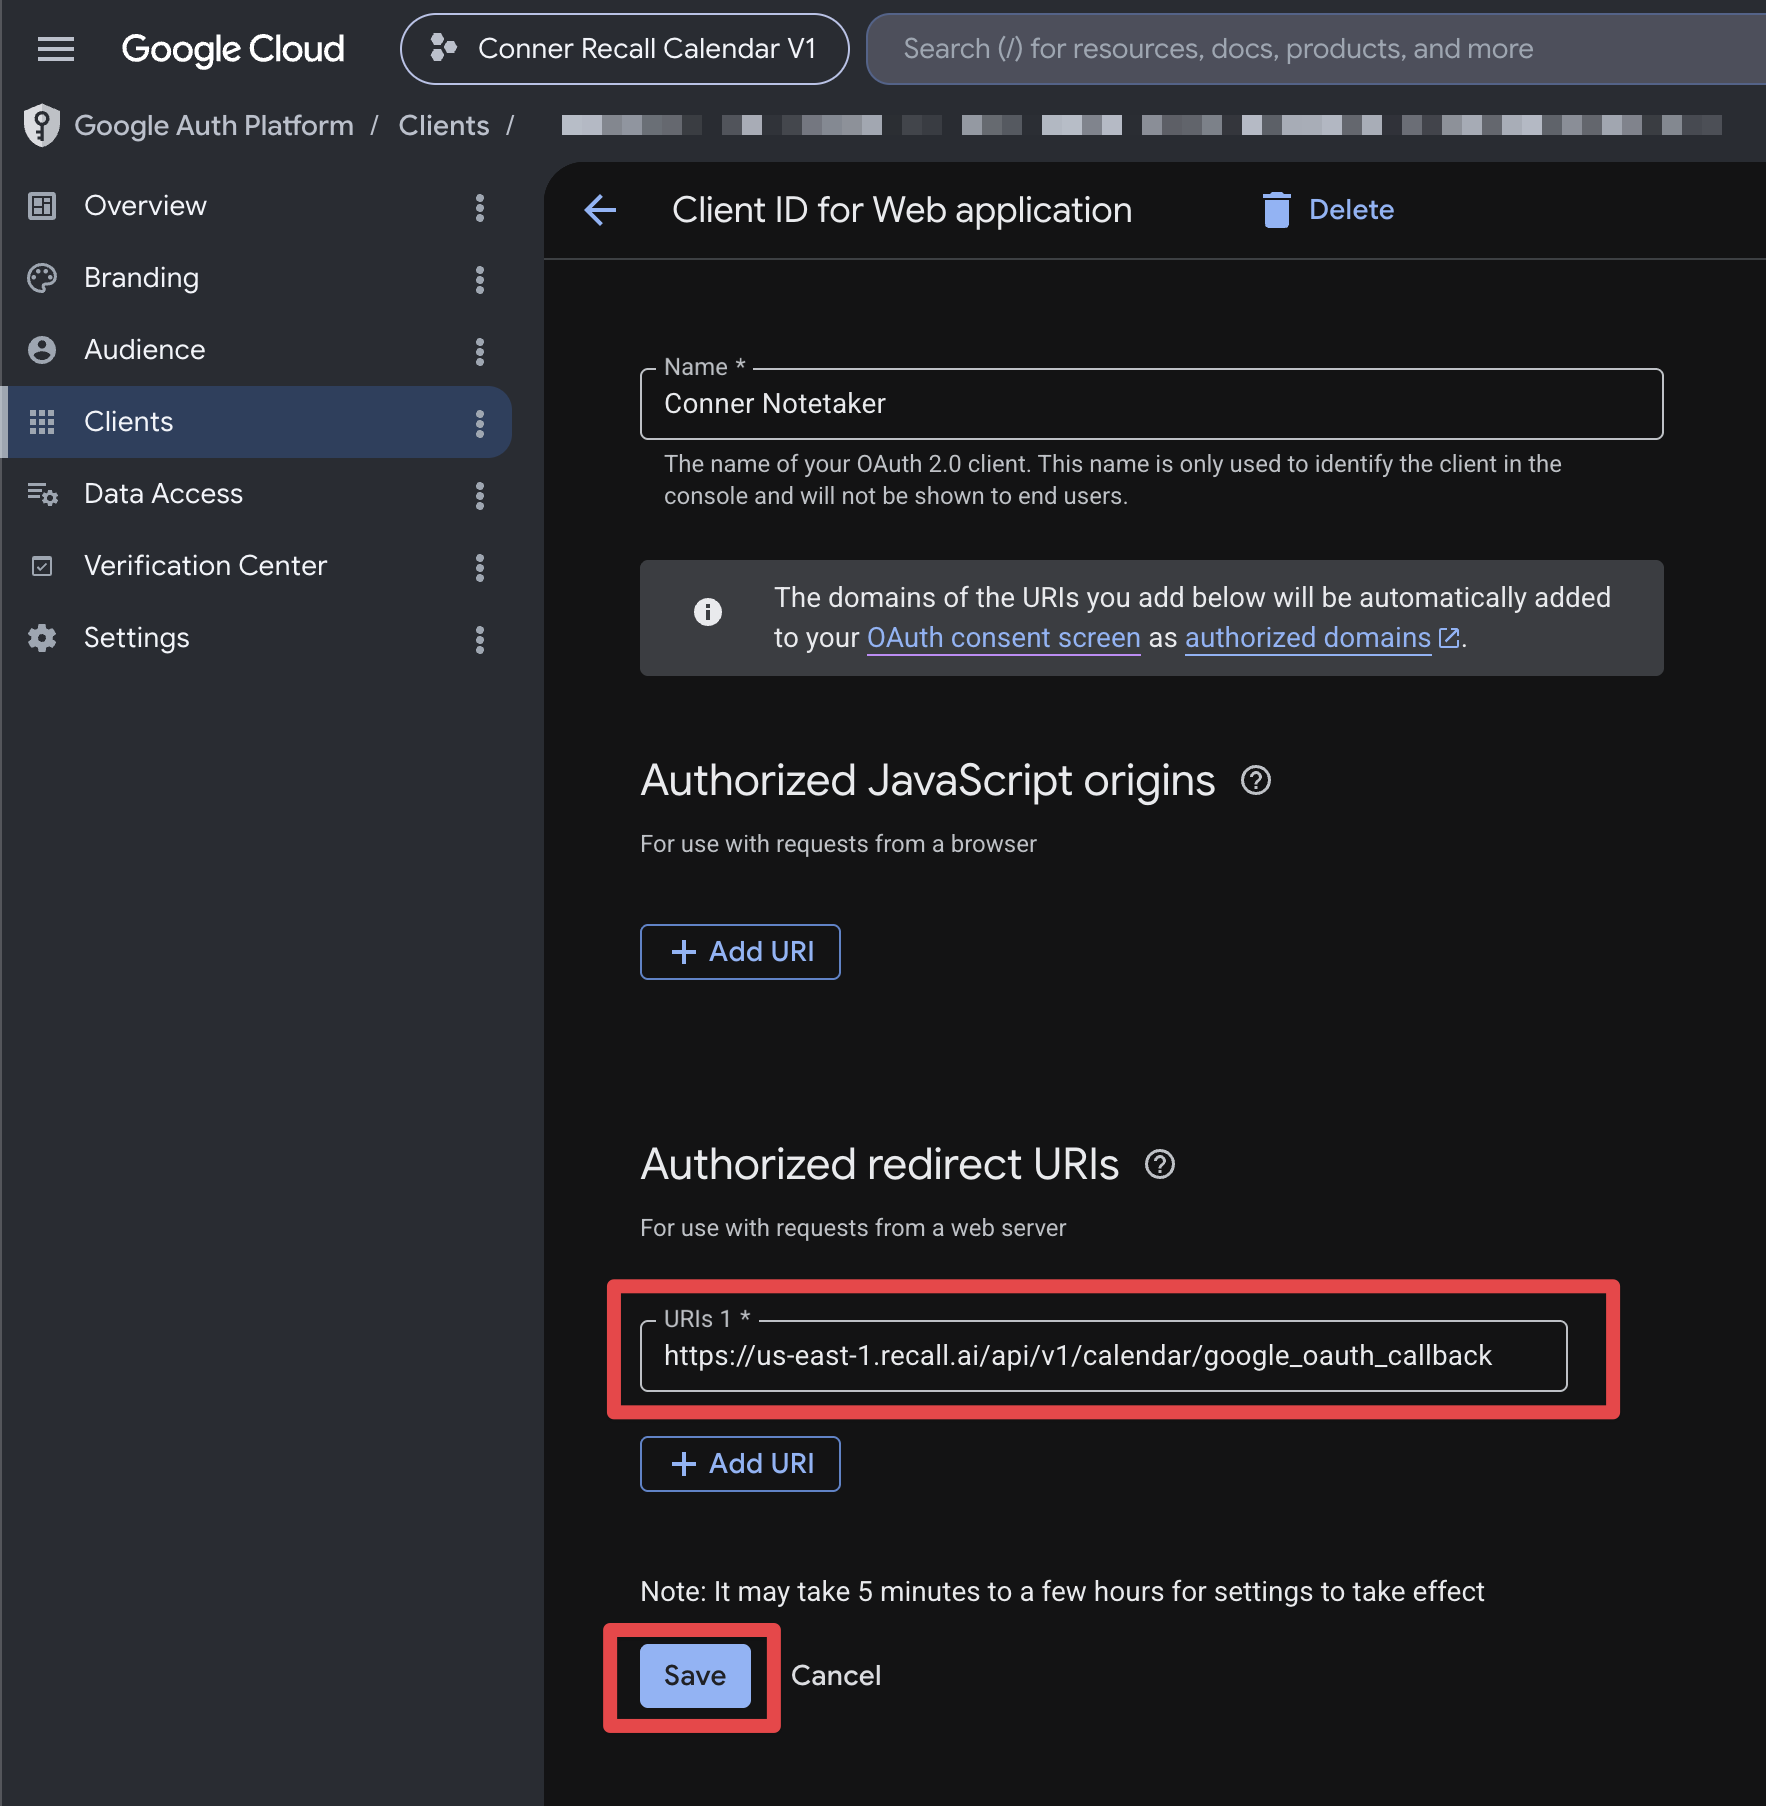
Step 1: Create Google OAuth 2.0 client credentials (you can view Google's Documentation here)
- For the redirect UI, add:
https://$REGION.recall.ai/api/v1/calendar/google_oauth_callback/as a redirect URI for the OAuth client id. (Replace$REGIONwith your Recall.ai Region such asus-west-2)
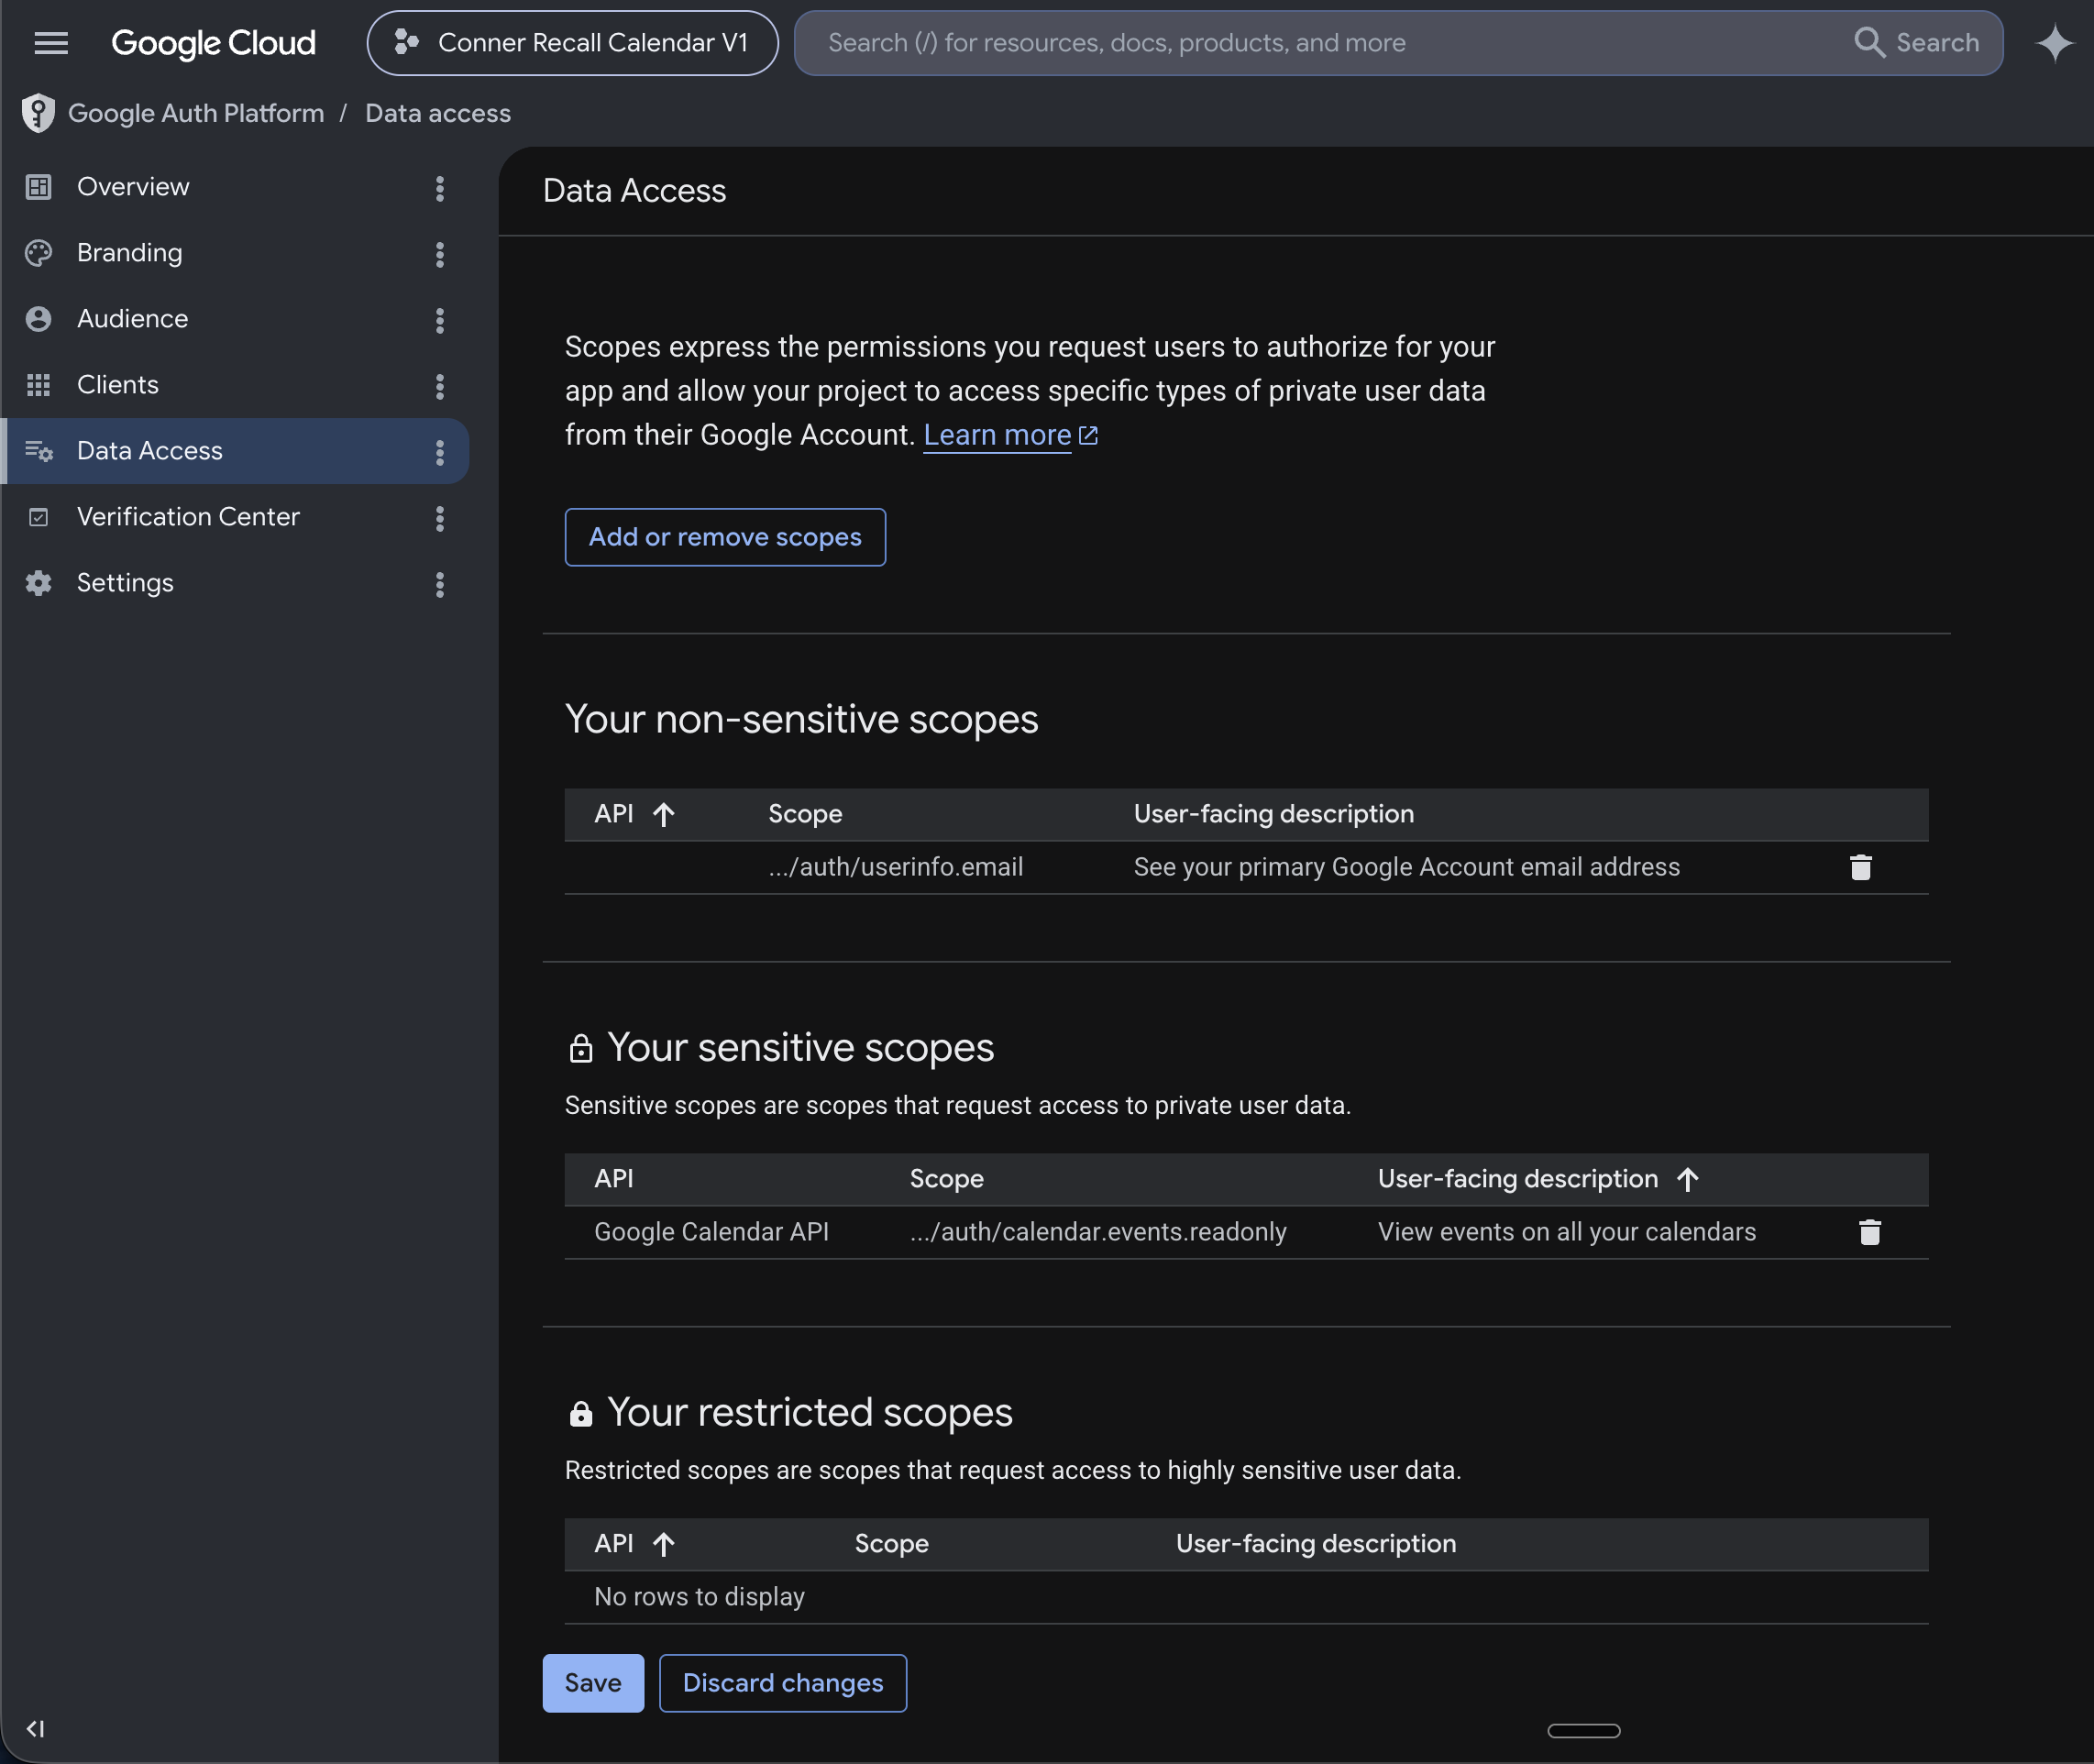
Step 2: Configure two permission scopes in the Data Access section
- Click the "Add or remove scopes" button
- Flip through the pagination and find both of these scopes individually
.../auth/userinfo.email.../auth/calendar.events.readonly
Note: For development purposes, see below in this guide for moving your app to production/submitting for verification
Testing your OAuth 2.0 Calendar IntegrationNote: You must undo the following steps before submitting your app for approval, as Google will require you to verify ownership of any authorized domains.
If you'd like to test out your OAuth integration by connecting your account directly from the Recall Dashboard, you can add the base URL of your Recall Region.
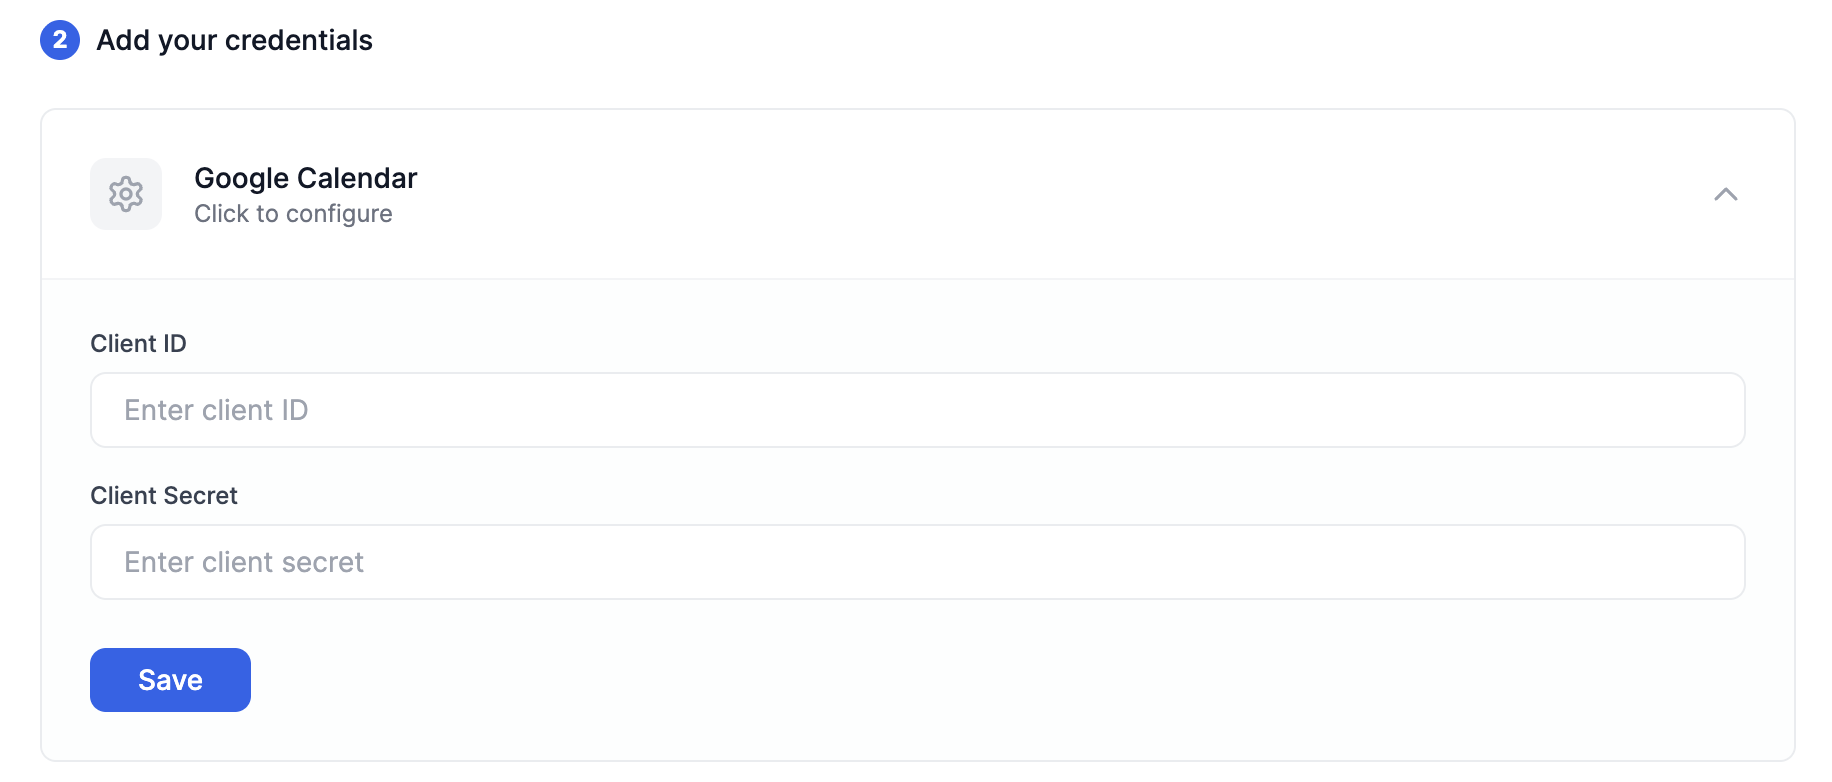
Step 3: Save the Google Calendar client credentials in your Recall Dashboard
Click on your Recall region below to set up your credentials:
Step 4: Building Google OAuth 2.0 URL
Now that you have your OAuth 2.0 client configured, each user in your application must connect their Google Calendar via OAuth before using the calendar integration. The process for connection is triggered by redirecting your user to the OAuth URL.
The URL structure should be as follows:
https://accounts.google.com/o/oauth2/v2/auth?
    scope={SCOPES}
    &access_type=offline
    &prompt=consent
    &include_granted_scopes=true
    &response_type=code
    &state={STATE}
    &redirect_uri={REDIRECT_URI}
&client_id={CLIENT_ID}- SCOPES
This parameter should be space separated string containing required scopes which arecalendar.events.readonly&userinfo.email.
Sample value:
https://www.googleapis.com/auth/calendar.events.readonly https://www.googleapis.com/auth/userinfo.email-
REDIRECT_URI
This parameter should be one of theredirect_uris configured in your Google OAuth 2.0 client. -
CLIENT_ID
This parameter should be your Google OAuth 2.0 client'sclient_idproperty. -
STATE
This parameter needs to be a JSON stringified object, which should contain
a.recall_calendar_auth_token: The calendar auth token for the user. (required)
b.google_oauth_redirect_url: The redirect_uri (should be same as REDIRECT_URI parameter in the url) (required)
c.success_url: The URL to redirect the user to once authentication has completed (optional)
d.error_url: The URL to redirect the user if the authentication errored (optional)
Sample value:
state=JSON.stringify({
  recall_calendar_auth_token: AUTH_TOKEN_HERE,
  google_oauth_redirect_url: REDIRECT_URI_HERE,
  success_url: https://yourdomain.com/google-calendar-connection/success,
  error_url: https://yourdomain.com/google-calendar-connection/success,
})
Step 5: Getting Approval to go to Production
The first step in the approval process is to fill out your app information. You should do so at the following link: https://console.cloud.google.com/apis/credentials/consent/edit
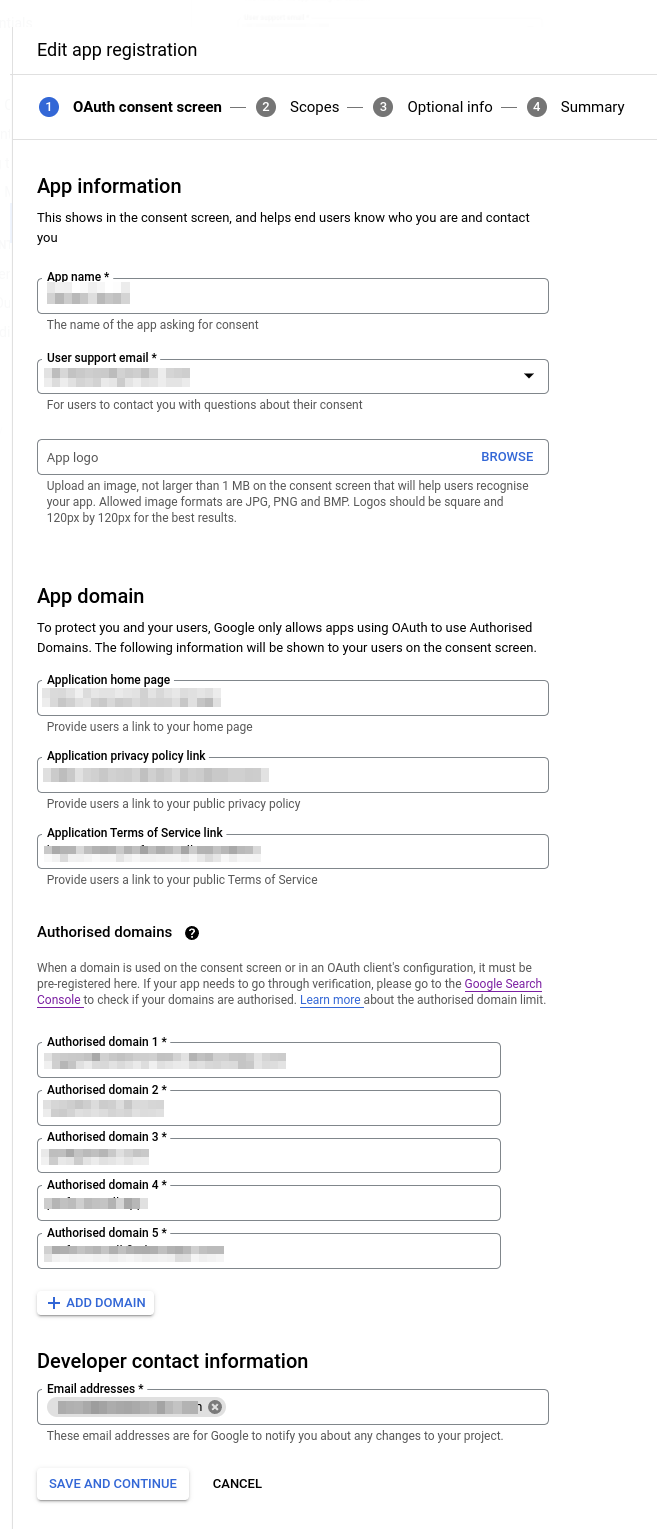
You must use your own app's name because the Google app reviewer will need to identify your app during the app approval process.
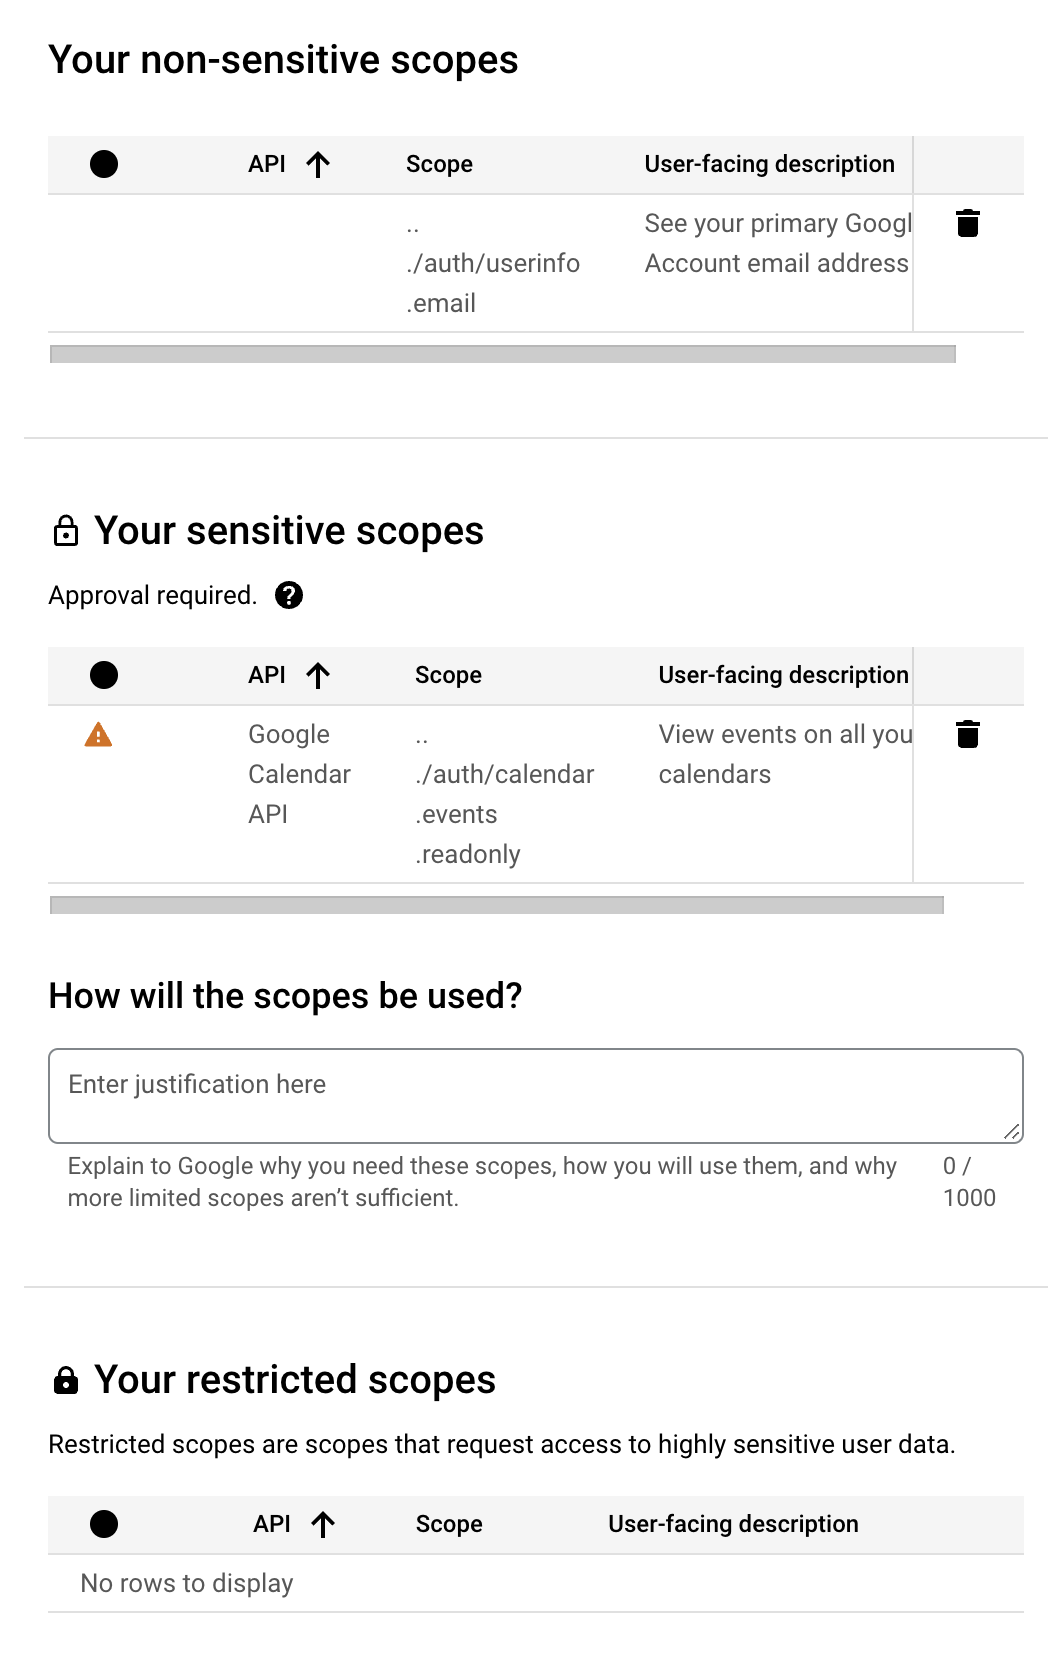
The next step is to select the scopes you are requesting through the OAuth interaction. The 2 scopes you require for the Recall Calendar integration are
calendar.events.readonly(sensitive scope)userinfo.email(non-sensitive scope)
For the "How will the scopes be used?" section, you should explain why your app requires calendar permissions as well as any other scopes you request. In terms of the calendar permissions specifically, something like:
"We need access to the /auth/calendar.events.readonly scope in order to automatically record our user's video conference meetings on their "primary" calendar. We read event data in order to find video conference events that our users have scheduled."
The demo video should walk through the process of signing up to your app, approving the permissions through the OAuth flow, and showing the interface to sync and mark meetings to be recorded. This is the official guide to the elements that need to be shown in the app demonstration video.
Remember to update your Redirect URI before submitting!Before submitting your Google OAuth Application to production, please ensure to update the
redirect_urito be on your own domain (rather than being on recall.ai domain) as Google requires to verify domain ownership of each of the redirect URIs added in the app.For example, add
https://your_website_domain/api/google_oauth_callbackasredirect_uri. In the request handler for above URL, return a HTTP redirect response tohttps://us-west-2.recall.ai/api/v1/calendar/google_oauth_callback/.Do not process the authorization code in your redirect uri endpoint. Instead you should forward the entire request (including all request query parameters) to recall.ai's OAuth endpoint.
Updated 6 minutes ago