

Signed-in Bots: Zoom
Set up signed-in Zoom bots so bots can join meetings that require Zoom sign-in.
You can use this sample app to see how to implement signed-in Zoom bots
Zoom Web bots will emit a fatalerror indicating "Sign In Required" if they attempt to join a Zoom meeting where the host has enabled "Only Authenticated Users can Join":
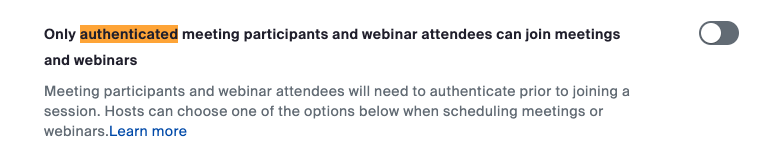
Enabling this setting means that only users who are logged in to a Zoom account are permitted to join the meeting. Because the bot is not logged in by default, it will not be able to join the meeting.
To enable the bot to join these meetings, you must provide it with a Zoom ZAK token.
ZAK tokens also allow bots to start meetings on behalf of the user. This can be useful if you want the bot to be able to join or start a meeting on behalf of a user, before they've joined.
Bots that are provided a ZAK token will also take on the profile photo of the underlying account of the Zoom user that generated the token. The bot's name can still be customized using the
bot_namefield in the Create Bot config.To set a custom profile photo for the bot when using ZAK tokens, see Output an Image.
What is a Zoom ZAK Token and how do I get one?
A ZAK token is a access token that can be generated through the Zoom API. These tokens are short-lived, and must be regenerated frequently.
Note: any ZAK token from any Zoom user can be used to authenticate the bot in any meeting.
We recommend creating a dedicated Zoom account for the purpose of generating ZAK tokens, and using that account's ZAK tokens to authenticate all your bots. This means you don't need to retrieve the ZAK token from your user's Zoom account.
Zoom free accounts have limits on simultaneous meeting joins. Keep this in mind when generating ZAK tokens from a single account.
How do I provide a ZAK token to the bot?
To provide the ZAK token to the bot, you must specify the zoom.zak_url when creating the bot. The zoom.zak_url is a URL on your server which returns the ZAK token as a plain text HTTP response. Some example pseudocode:
def validate_request(request) -> bool:
  """Validate the authenticity of the request. Read about how to do this in our docs here:
  https://docs.recall.ai/docs/verify-events#/
  """
  pass

def retrieve_zak_token() -> str:
  """This function retrieves a Zoom ZAK token. Note that the response returned
  by calling Zoom's API is a JSON object, and we must extract the token to return a string.
  (https://developers.zoom.us/docs/api/rest/reference/zoom-api/methods/#operation/userZak)
  """
  zoom_api_response = call_zoom_api_userZak()
  return zoom_api_response['token']

# HTTP handler for https://example.com/recall/callbacks/zak
def http_handler(request):
  if not validate_request(request):
    return HttpResponse(code=401)

  zak_token = retrieve_zak_token()
  return HttpResponse(body=zak_token)
How to create a ZAK token?
After creating a Zoom OAuth app, you can have the user (or your service account) authorize your app so that you can generate ZAK tokens on their behalf. The following steps require you to have a Zoom OAuth app
Step 1: Generate the Zoom OAuth URL
The Zoom OAuth URL will allow users to authorize your app. These are one-time urls that you can put directly in your app and will redirect to the following page:
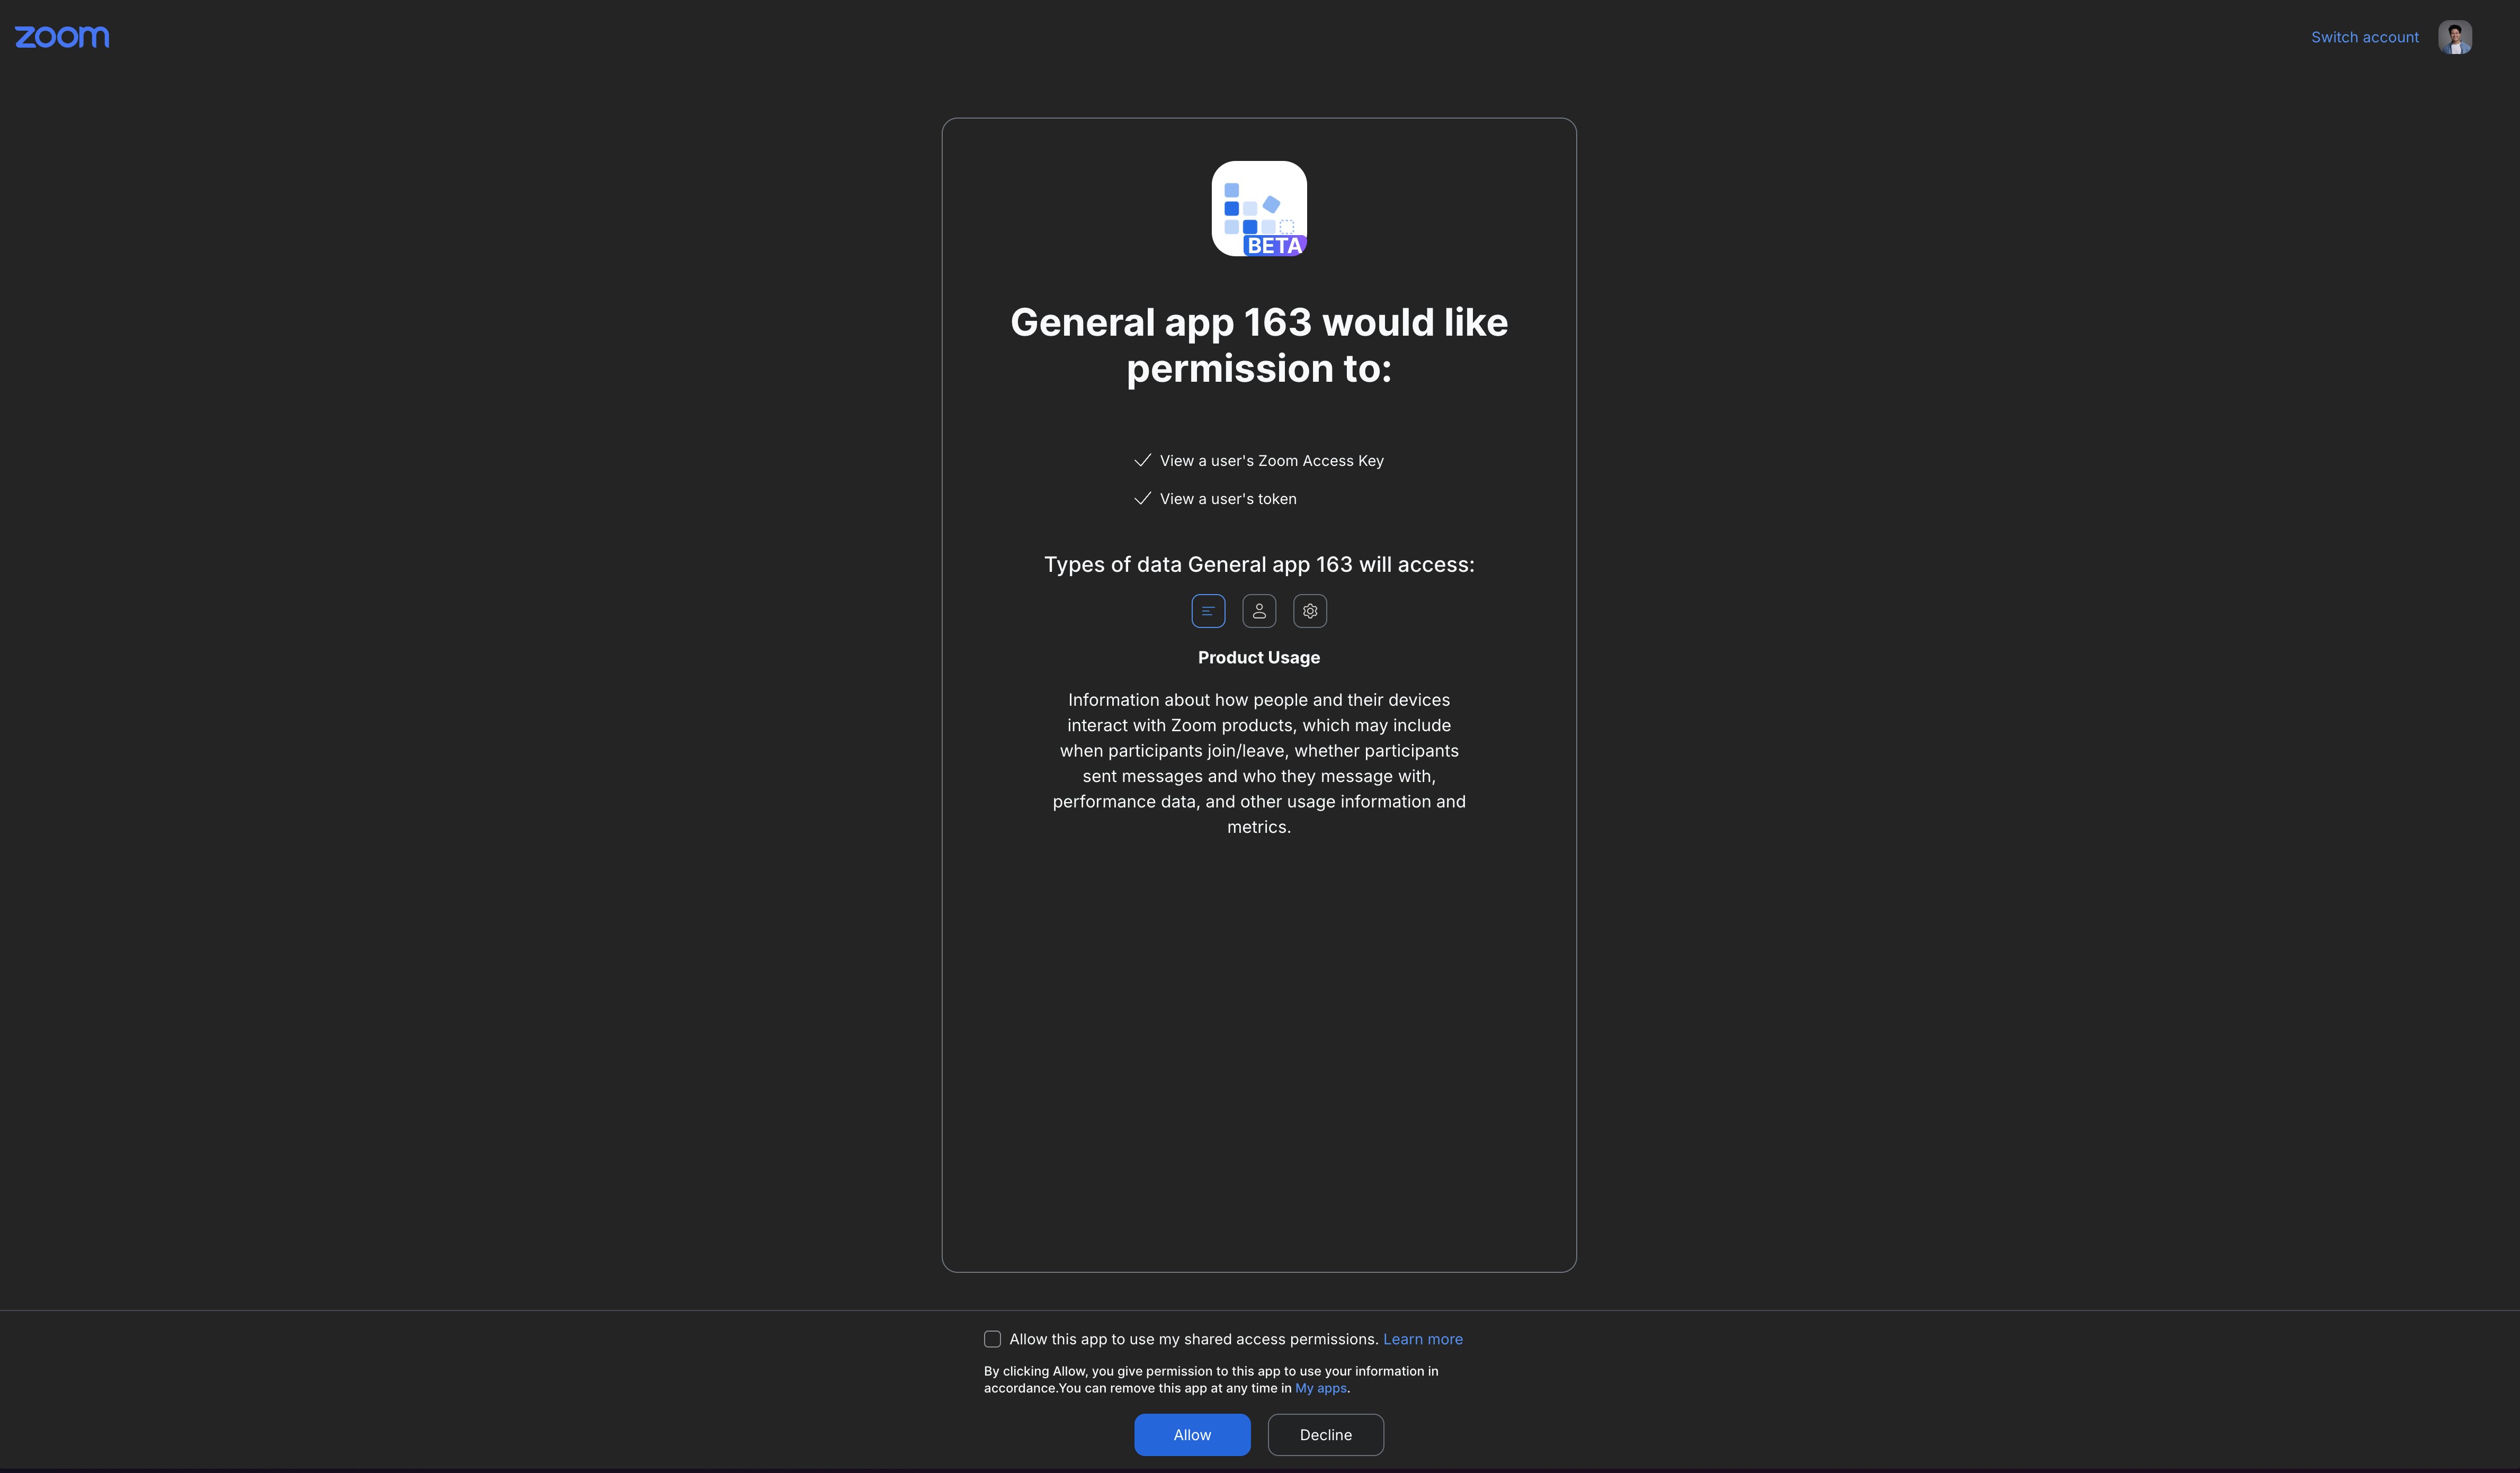
This is how to generate an authorization URL
/**
 * Requires the following scopes:
 * - user:read:zak (default)
 */

const generateAuthorizationUrl = (args: { ZoomClientId: string, ZoomRedirectUri: string }): string => {
    const { ZoomClientId, ZoomRedirectUri } = args;

    const url = new URL("https://zoom.us/oauth/authorize");
    url.searchParams.set("response_type", "code"); // Telling Zoom to return a code which you can exchange for the user's Zoom OAuth access/refresh tokens
    url.searchParams.set("client_id", ZoomClientId); // Your Zoom app's client id
    url.searchParams.set("redirect_uri", ZoomRedirectUri); // Your Zoom app's OAuth Redirect URL

    return url.toString();
}
Step 2: Trade the code for the user's Zoom OAuth access/refresh token
After the user grants OAuth access, you will need to get the user's access/refresh token where:
- The refresh token is a long-lived token used to generate access tokens
- The access token is a short-lived token used to interact with the Zoom API
You must save the refresh token so that you can generate new access tokens when the access token expires.
Now when the user authorizes your app, Zoom will send a request to {redirect_uri}?code=.... You need the code in the redirect URI to generate the access/refresh tokensThis is how to trade the code from the redirect URI for the user's access/refresh tokens:
const generateOAuthAccessToken = async (args: { code: string, ZoomClientId: string, ZoomClientSecret: string, ZoomRedirectUri: string }): Promise<{ accessToken: string, refreshToken: string }> => {
    const { code, ZoomClientId, ZoomClientSecret, ZoomRedirectUri } = args;
    if (!code) {
        throw new Error("Code is missing in generateOAuthAccessToken");
    }

    const url = new URL("https://zoom.us/oauth/token");
    url.searchParams.set("grant_type", "authorization_code");
    url.searchParams.set("code", code);
    url.searchParams.set("redirect_uri", ZoomRedirectUri);

    const response = await fetch(url.toString(), {
        method: "POST",
        headers: {
            "Content-Type": "application/x-www-form-urlencoded",
            "Authorization": `Basic ${Buffer.from(`${ZoomClientId}:${ZoomClientSecret}`, 'utf8').toString('base64')}`,
        },
    });
    if (!response.ok) {
        throw new Error(`Failed to generate OAuth access token: ${await response.text()}`);
    }
    const data = await response.json();
    return {
        accessToken: data.access_token,
        refreshToken: data.refresh_token,
    };
}
Alternative Step 2: Store OAuth credentials with Recall
Instead of exchanging the code yourself, you can store the user's Zoom OAuth credentials with Recall and fetch fresh access tokens on demand.
At a high level, this flow looks like:
- Send the Zoom
codeandredirect_urito Recall'szoom-oauth-credentialsAPI to create a credential. - Store the returned credential id on your server.
- Whenever you need a Zoom access token (e.g., to mint a ZAK token), fetch a fresh access token from Recall using that credential id.
Below is a minimal example in TypeScript-style pseudocode:
const RECALL_API_BASE_URL = "https://us-east-1.recall.ai";

type RecallCredentialResponse = { id: string };
type RecallAccessTokenResponse = { access_token?: string; token?: string };

const createRecallCredential = async (args: {
  recallApiKey: string;
  recallZoomOauthAppId: string;
  code: string;
  redirectUri: string;
}): Promise<string> => {
  const { recallApiKey, recallZoomOauthAppId, code, redirectUri } = args;
  const response = await fetch(`${RECALL_API_BASE_URL}/api/v2/zoom-oauth-credentials/`, {
    method: "POST",
    headers: {
      "Authorization": `Token ${recallApiKey}`,
      "Content-Type": "application/json",
    },
    body: JSON.stringify({
      oauth_app: recallZoomOauthAppId,
      authorization_code: {
        code,
        redirect_uri: redirectUri,
      },
    }),
  });
  if (!response.ok) {
    throw new Error(`Failed to create Recall credential: ${await response.text()}`);
  }
  const data = (await response.json()) as RecallCredentialResponse;
  return data.id;
};

const fetchRecallAccessToken = async (args: {
  recallApiKey: string;
  credentialId: string;
}): Promise<string> => {
  const { recallApiKey, credentialId } = args;
  const response = await fetch(`${RECALL_API_BASE_URL}/api/v2/zoom-oauth-credentials/${credentialId}/access-token/`, {
    headers: {
      "Authorization": `Token ${recallApiKey}`,
    },
  });
  if (!response.ok) {
    throw new Error(`Failed to fetch Recall access token: ${await response.text()}`);
  }
  const data = (await response.json()) as RecallAccessTokenResponse;
  const accessToken = data.access_token ?? data.token;
  if (!accessToken) {
    throw new Error("Recall access token response missing token");
  }
  return accessToken;
};
This lets you avoid storing Zoom refresh tokens yourself and keeps your server as a thin token broker.
Step 3: Retrieve the ZAK Token for the user
Zoom may still return a ZAK token even when the underlying OAuth
access_tokenis technically expired.
To avoid join failures, you should track token expiry yourself and proactively refresh before minting an ZAK token
(don’t treat “token mint succeeded” as proof the OAuth token is fresh).
The last step is to use the Zoom user's access token to generate a new ZAK token:
const generateZakToken = async (args: { accessToken: string }): Promise<string> => {
    const { accessToken } = args;
    if (!accessToken) {
        throw new Error("Access token is missing in generateZakToken");
    }
    const response = await fetch(`https://api.zoom.us/v2/users/me/zak`, {
        headers: {
            "Authorization": `Bearer ${accessToken}`,
        },
    });
    if (!response.ok) {
        throw new Error(`Failed to generate ZAK token: ${await response.text()}`);
    }
    const data = await response.json();
    return data.token;
}
Verifying Requests are from RecallSee Authenticating requests from Recall.ai for details on how to verify requests are from Recall
FAQs
Can I use a bot with a ZAK token (signed-in Zoom bot) to skip the waiting room?
Yes, you can't use a ZAK token to have a bot skip the waiting room. However, the ZAK token provided to the bot must be generated from the Zoom user who owns and created the meeting.
Can I allowlist the email domain associated with the signed-in Zoom bot?
It is not possible to allowlist the bot's email domain because signed-in Zoom bots do not have an email associated with them. ZAK tokens (used for Zoom bot sign-in) grant permission to join signed-in required meetings as the user who created the ZAK token, but does not provide access to that user’s email.
Can a ZAK token be refetched after a call has started?
A bot may re-fetch a ZAK token while already in the call to refresh its session. The zoom.zak_url you provide must be callable throughout the entire duration the bot remains in the meeting.
Why is my account name showing up instead of bot_name?
bot_name?When a bot joins a call with a ZAK token for a user in the same organization as the meeting host, the bot will display the account name of the underlying ZAK. If you want to avoid this, use a different Zoom organization altogether for your signed-in bots.
Updated 29 days ago